
Step-by-Step Guide to Recovering Fire-Damaged DVR Video Using Forensic Video Recovery Methods

Step 1: Evidence Preservation and Chain of Custody
Before attempting recovery, proper forensic handling is essential. The DVR condition is documented, isolated from power, and secured using contamination-safe packaging. Maintaining strict chain-of-custody documentation preserves evidentiary integrity and prevents data alteration.

Step 2: Damage Assessment and Stabilization
Fire-damaged DVRs often experience heat exposure, soot contamination, corrosion, and water damage. Stabilization procedures include controlled drying, decontamination, and corrosion mitigation to prevent further degradation before extraction.

Step 3: Forensic Disassembly
DVR units are disassembled in controlled environments. Engineers remove internal storage devices, evaluate controller boards, and document internal damage. Even severely burned housings may contain intact storage components.

Step 4: Storage Media Recovery
Storage media, including hard drives, solid-state drives, and flash memory, undergo specialized repair and extraction techniques such as firmware reconstruction, component replacement, and controller bypass methods.

Step 5: Forensic Imaging and Data Extraction
A bit-for-bit forensic image of the storage media is created while preserving the original evidence. Proprietary DVR file systems are reconstructed and deleted or damaged video segments are recovered.
Step 6: Video Reconstruction
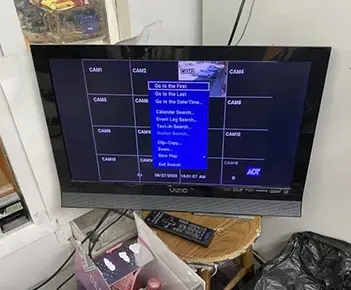
Recovered data streams are decoded, reconstructed, and repaired. Enhancement techniques may include frame repair, timestamp recovery, stabilization, and low-light clarification to produce evidentiary-quality video.

Step 7: Authentication
Recovered footage is validated through forensic reporting that documents recovery methodology, data integrity, and timeline reconstruction. This documentation supports investigative findings and legal proceedings.

Step 8: Extraction and Reporting
Once authenticated, we export footage in native format and as a copy. Every file gets a hash value so there is no question about whether anything changed. Along with the video, you'll receive a forensic report that walks through key events, timestamps, and still images. Whether you are an investigator, adjuster, or attorney, that package is built to hold up, from the initial claim review through depositions, subrogation, and trial.